
Creating a garden pathway can be a delightful DIY project that adds charm and functionality to your outdoor space. Whether you want to lead visitors through a blooming garden or provide a clear route to a backyard retreat, a well-built path can make all the difference. Plus, it’s a fantastic way to spend a weekend! In this guide, we’ll walk you through the steps to build your very own garden pathway.
What You’ll Need
Before we get into the nitty-gritty, here’s a quick list of materials and tools you’ll need:
- Materials:
- Paving stones or bricks
- Gravel or sand
- Landscape fabric
- Edging materials (plastic, metal, or wood)
- Tools:
- Shovel
- Rake
- Tape measure
- Level
- Rubber mallet
Step 1: Plan Your Pathway
Begin by deciding where you want your path to go. Use a garden hose or rope to outline the path’s shape and curves. This step is crucial as it sets the foundation for your entire project. Consider the following:
- Destination: Where will the pathway lead?
- Width: Ensure it’s wide enough for comfortable walking.
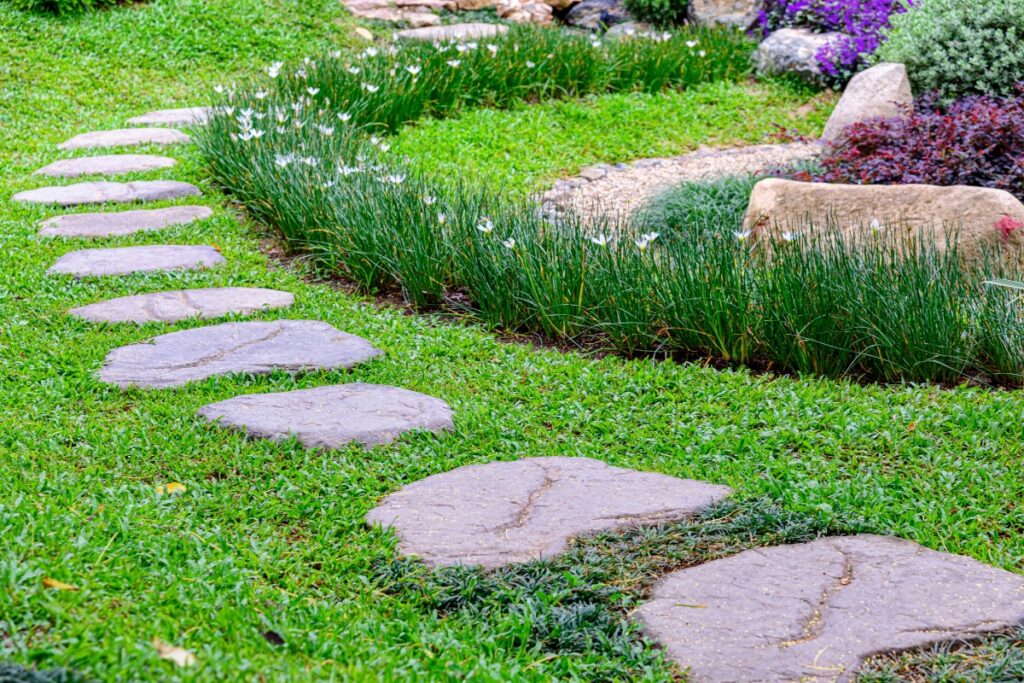
- Flow: A gentle, winding path often looks more natural than a straight one.
Tip: For a playful twist, incorporate curves and bends to create a more whimsical feel.
Step 2: Mark and Dig
Once you’re happy with your layout, mark the edges using spray paint or stakes and string. Now, it’s time to dig!
- Depth:
- Dig to a depth of about 10-15 cm (4-6 inches) to accommodate the base material and pavers.
- Level:
- Ensure the bottom of the trench is as level as possible. Use a spirit level to check as you go.
Tip:Taking your time to dig evenly makes laying the pavers much easier later on!
Step 3: Lay the Base
A solid base is essential for a durable pathway. Here’s how to do it:
- Landscape Fabric:
- Lay down landscape fabric to prevent weeds from growing through your path.
- Gravel or Sand:
- Add a layer of gravel or sand about 7-10 cm (3-4 inches) deep. This helps with drainage and stability.
- Compact:
- Use a tamper or a piece of heavy wood to compact the base material firmly.
Step 4: Install Edging
Edging helps keep your pathway materials in place and gives a clean finish.
- Materials:
- Choose from plastic, metal, or wood edging.
- Installation:
- Place the edging along the sides of your path and secure it with stakes.
Step 5: Lay the Paving Stones or Bricks
Now comes the fun part—laying your pavers!
- Pattern:
- Decide on a pattern (e.g., herringbone, basket weave, or a simple stacked design).
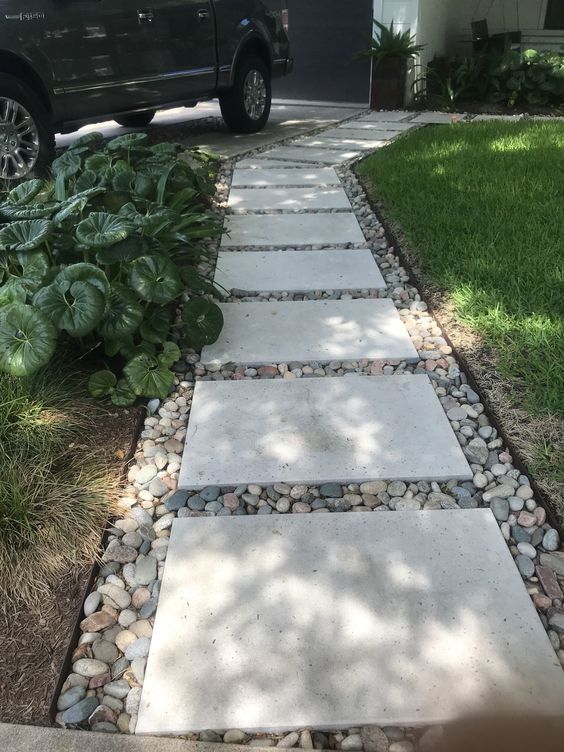
- Placement:
- Start placing your pavers from one end to the other. Use a rubber mallet to tap them into place, ensuring they are level with each other.
- Spacing:
- Leave a small gap (about 1 cm) between each paver to allow for expansion and contraction.
Tip:Mix and match different coloured bricks for a more vibrant and playful pathway.
Step 6: Fill the Gaps
Fill the gaps between the pavers with sand or fine gravel.
- Spread:
- Spread sand or gravel over the entire pathway.
- Sweep:
- Use a broom to sweep the sand into the gaps until they are filled.
- Compact and Repeat:
- Compact the sand and add more if necessary. This will lock your pavers in place.
Step 7: Clean Up and Enjoy
Give your new pathway a good clean, removing any excess sand or gravel.
- Water:
- Lightly spray the pathway with water to help settle the sand.
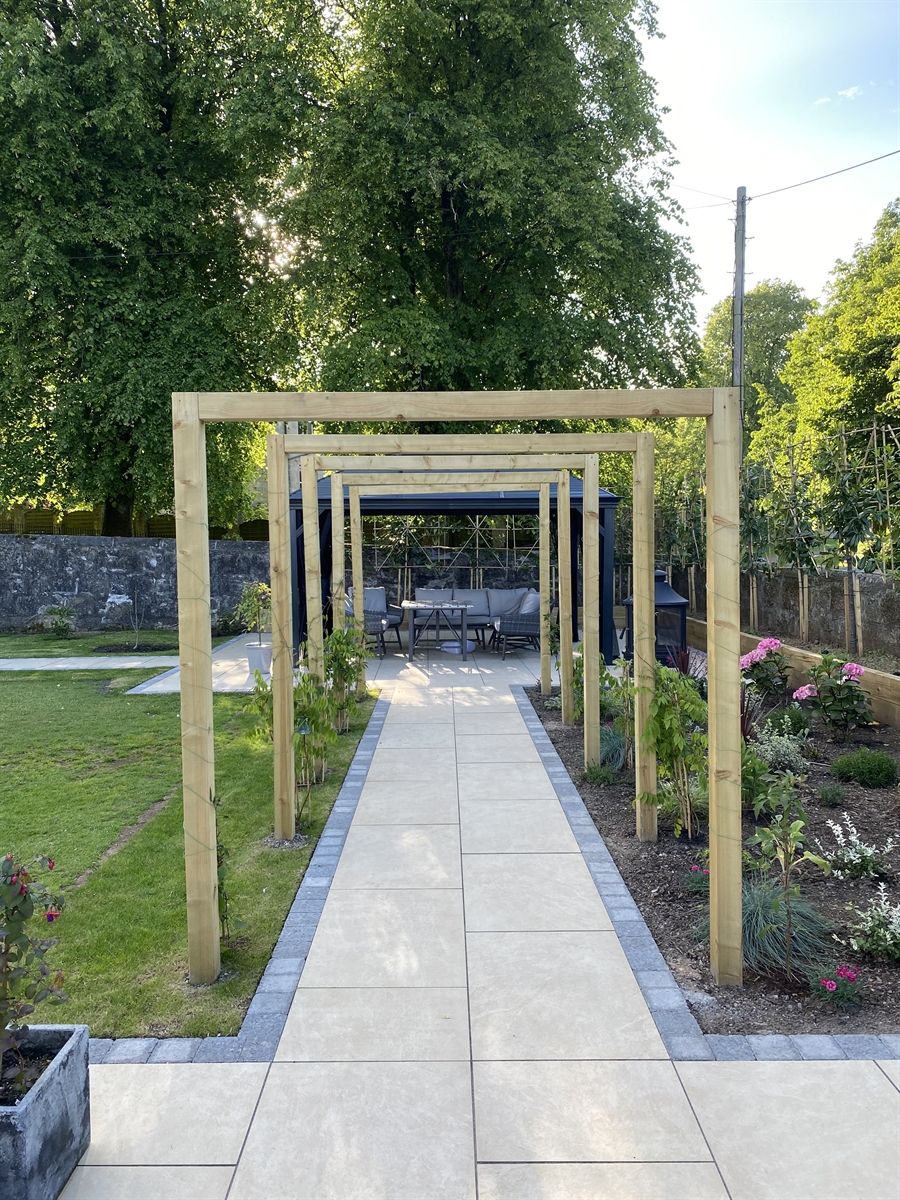
- Final Touches:
- Add some plants or garden ornaments along the edges to enhance the beauty of your new path.
Ready to transform your garden with a stunning pathway? Share your progress and finished projects with us on social media by tagging @eDecks.co.uk. And if you’ve got any questions or need advice, don’t hesitate to reach out to our team of gardening enthusiasts!
Enjoy your new garden feature, and happy gardening! 🌿