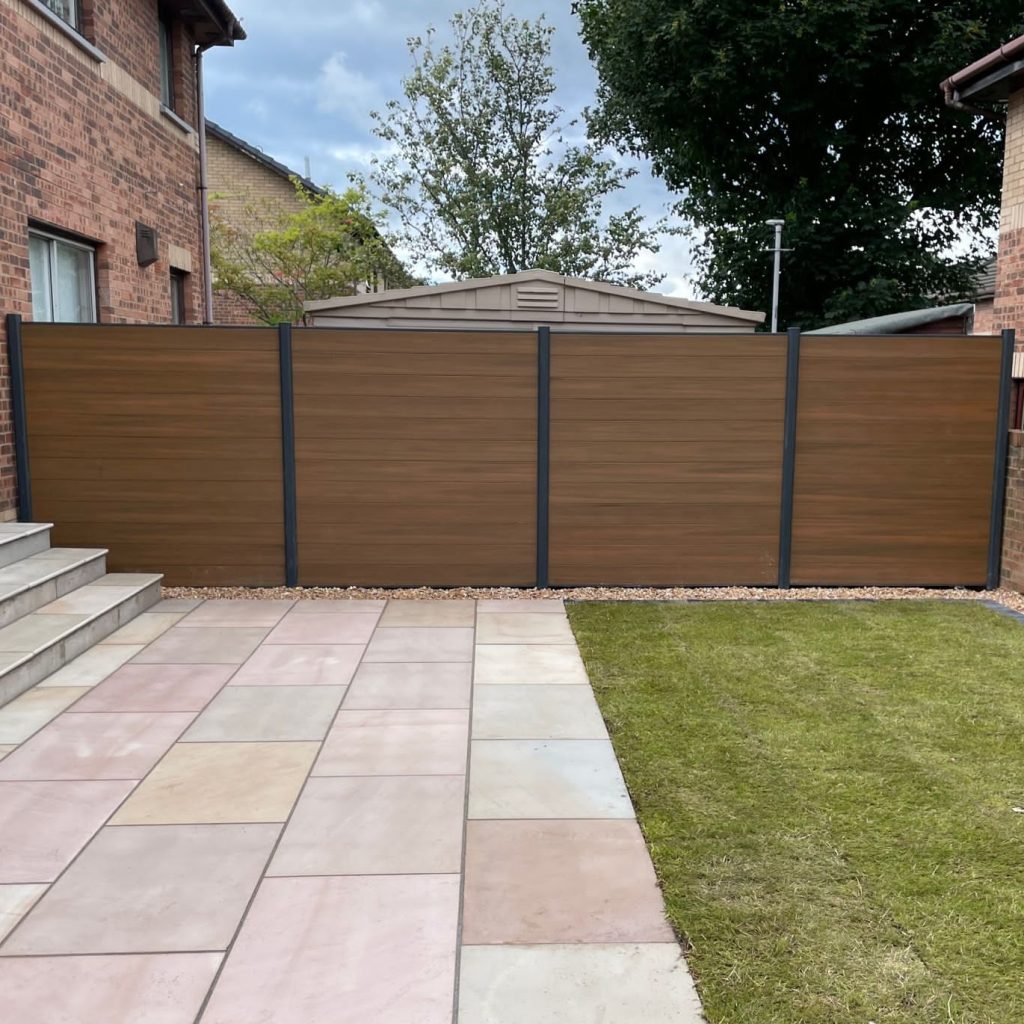
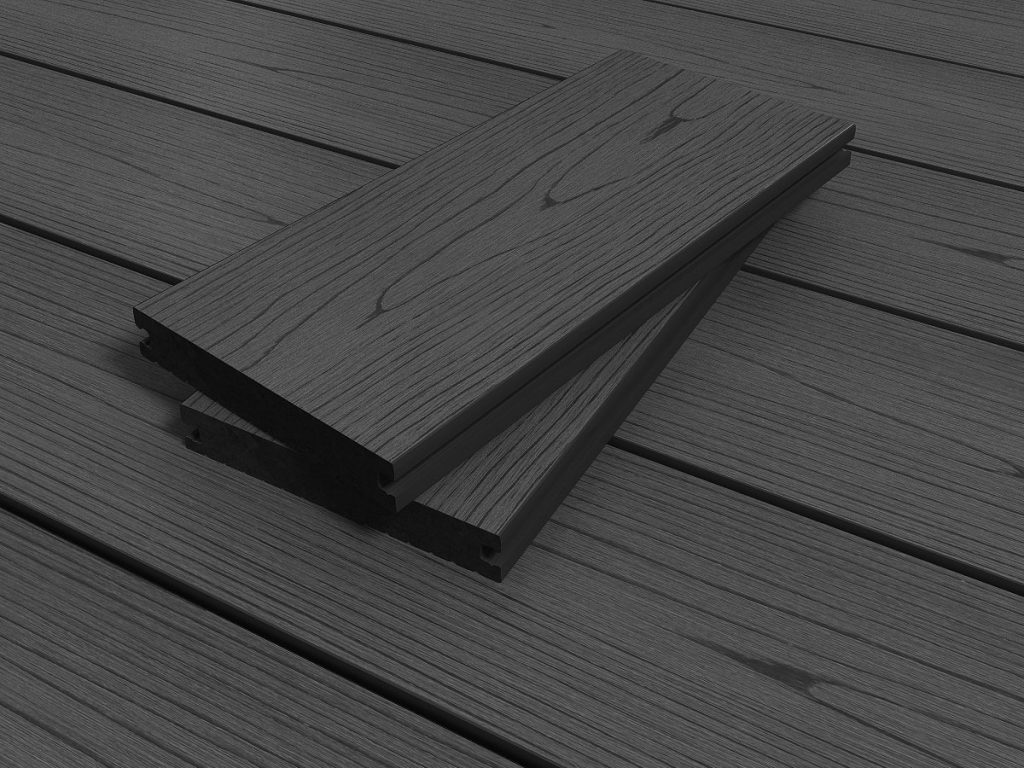
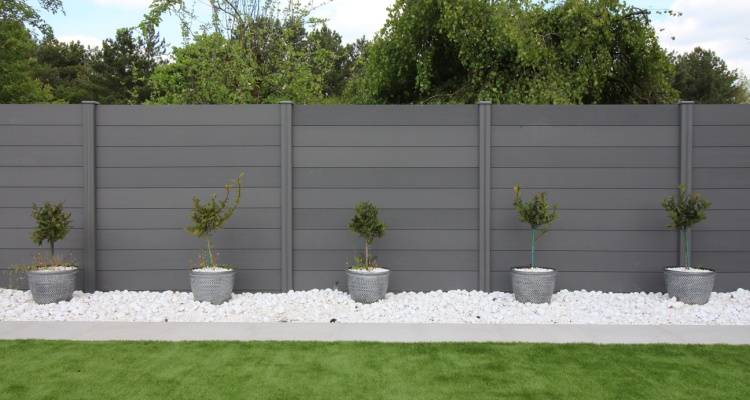
If you’re a DIY enthusiast or a homeowner, you’ve probably heard about the wonders of composite decking. It’s durable, low-maintenance, and aesthetically pleasing. But did you know you can use it for fencing panels too? That’s right—transform your outdoor space with the same material that makes your decking the talk of the town.
Why Choose Composite Decking for Fencing?
Before we get into the how-to, let’s chat about the why. Composite decking is a favourite amongst many homeowners for its versatility and long-lasting nature. Here’s why it’s a fantastic choice for fencing too:
- Durability: Unlike traditional wood, composite decking resists rot, decay, and insect damage. Perfect for keeping your fence looking new season after season.
- Low Maintenance: Say goodbye to annual painting or staining. A quick wash now and then will keep your fence looking pristine.
- Aesthetic Appeal: Available in various colours and textures, composite decking can complement any garden style, from modern minimalism to rustic charm.
- Environmentally Friendly: Made from recycled materials, composite decking is a sustainable choice that reduces your carbon footprint.
Steps to Create Your Composite Decking Fence Panels
Step 1: Plan Your Design
Before you start, consider the style and function of your fence. Are you looking for privacy, or is your main goal to add a decorative element to your garden? Sketch out your design and take measurements. This will help you purchase the right amount of composite decking boards.
Step 2: Gather Your Materials
For this project, you’ll need:
- Composite decking boards
- Post supports (either metal or wood)
- Screws suitable for composite materials
- Drill
- Level
- Saw (preferably with a fine-tooth blade for cutting composite materials)
Step 3: Prepare the Area
Clear the area where you’ll be installing the fence. Remove any debris or vegetation and ensure the ground is level. This will make installation easier and keep your fence stable.
Step 4: Install the Posts
Using your level and post supports, install the fence posts at regular intervals. The distance will depend on the length of your composite decking boards. Ensure each post is secure and evenly aligned—no one likes a wonky fence!
Step 5: Attach the Composite Boards
Cut your composite decking boards to the desired length using a saw. Secure them horizontally or vertically to the posts using screws. For a more polished look, consider using composite railings or trims to frame the panels.
Step 6: Add Finishing Touches
Once your panels are in place, step back and admire your work. Consider adding decorative elements like solar lights or climbing plants to personalise your fence further.
Enjoy Your New Composite Fencing
And there you have it—a beautiful, durable fence made from composite decking! It’s not only a cost-effective solution but also an opportunity to put your DIY skills to the test. And if you’re still on the hunt for high-quality composite decking, check out our competitive pricing and find the perfect match for your next project!
Happy DIY-ing! Follow us on Instagram or Facebook for more DIY inspiration!


